04. Mac/Linux Setup
Installing Git
Git is actually installed on MacOS, but we'll be reinstalling it so that we'll have the newest version:
- download the software for Mac
- install Git choosing all of the default options
Once everything is installed, you should be able to run git on the command line. If it displays the usage information, then you're good to go!
If you run into any issues, please remember to take advantage of Knowledge and the community in your Student Hub.
Configuring Mac's Terminal
We're about to configure the Terminal to display helpful information when in a directory that's under version control. This is an optional step! You do not need to re-configure your terminal for Git to work. You can complete the entire course without reconfiguring it. However, reconfiguring the Terminal makes it significantly easier to use.
If you choose to configure your Terminal, here's what it should look like when you're finished.
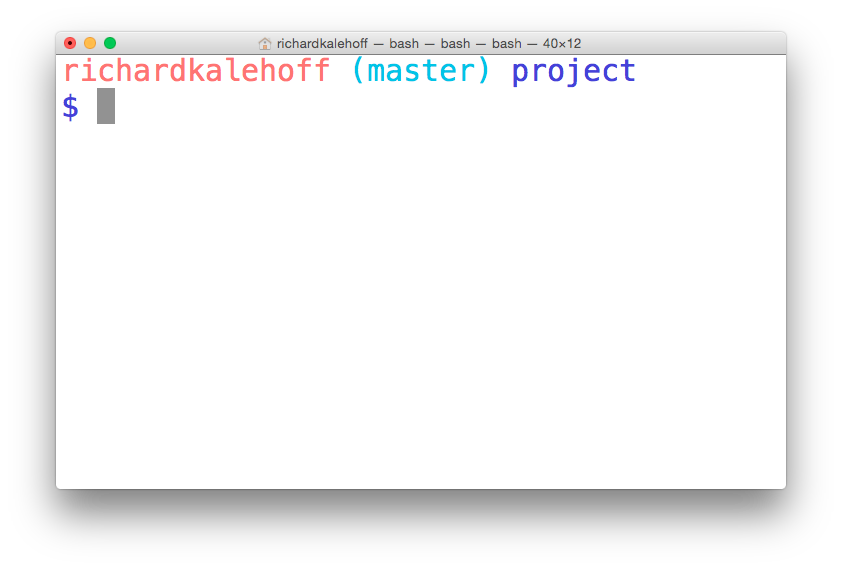
The terminal application on MacOS. The terminal has been configured to display version control information.
⚠️ Hey, macOS Catalina Users!
The following instructions configure the bash terminal, which is the default terminal on macOS Mojave (10.14) and earlier.
If you're on macOS Catalina (10.15), the default terminal has switched to zsh. The
bashshell hasn't been removed–it's just not the default one. To follow along with the instructions below, you need to be usingbash. You can makebashyour default terminal by running this command in your terminal:chsh -s /bin/bash >Now just relaunch the terminal and you'll be using the
bashterminal.
Configuration Steps
To configure the terminal, we'll perform the following steps:
- download the zipped file from the Resources pane, or the bottom of this page
- move the directory
udacity-terminal-configto your home directory and name it.udacity-terminal-config(there's a dot at the front, now!) - move the
bash_profilefile to your home directory and name it.bash_profile(there's a dot at the front, now!)- if you already have a
.bash_profilefile in your home directory, transfer the content from the downloadedbash_profileto your existing.bash_profile
- if you already have a
Nd016 WebND Ud123 Gitcourse BETAMOJITO L1 23 Configure Terminal
First Time Git Configuration
Before you can start using Git, you need to configure it. Run each of the following lines on the command line to make sure everything is set up.
# sets up Git with your name
git config --global user.name "<Your-Full-Name>"

# sets up Git with your email
git config --global user.email "<your-email-address>"

# makes sure that Git output is colored
git config --global color.ui auto

# displays the original state in a conflict
git config --global merge.conflictstyle diff3

git config --list
Git & Code Editor
The last step of configuration is to get Git working with your code editor. Below are three of the most popular code editors. If you use a different editor, then do a quick search on Google for "associate X text editor with Git" (replace the X with the name of your code editor).
Atom Editor Setup
git config --global core.editor "atom --wait"Sublime Text Setup
git config --global core.editor "'/Applications/Sublime Text 2.app/Contents/SharedSupport/bin/subl' -n -w"VSCode Setup
git config --global core.editor "code --wait"If you have any questions, post them on the forum.
Everything Is All Set Up
Task Feedback:
Fantastic work!